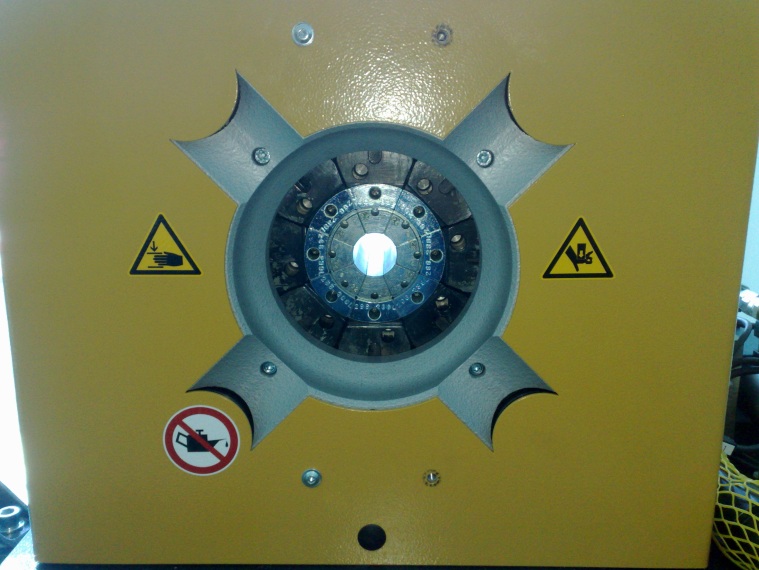
| Insert 32mm die set into the machine and close the machine until the dies touch just touch. Do not pressurize the machine. If the machine not moves itself you can use Y1 manual switch to close it. Switch off the main switch and unplug the machine from the power supply.
|
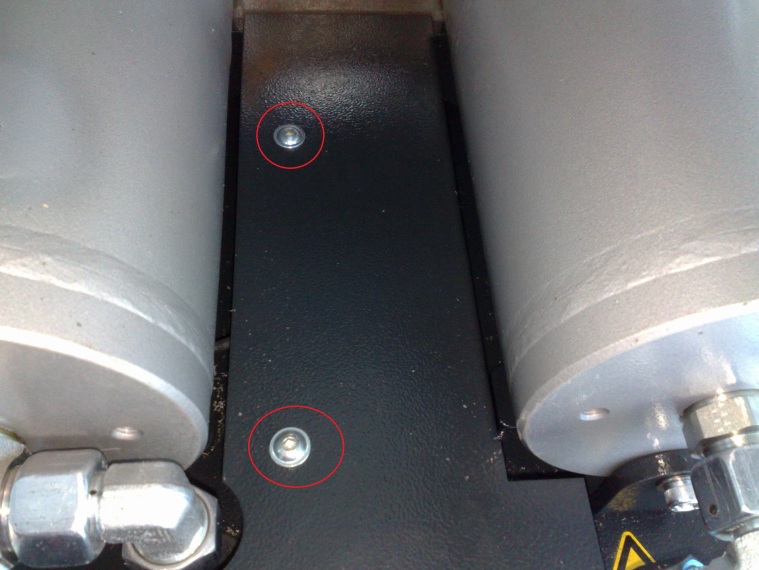
| Remove the two screws for the cover in the back of the machine. |
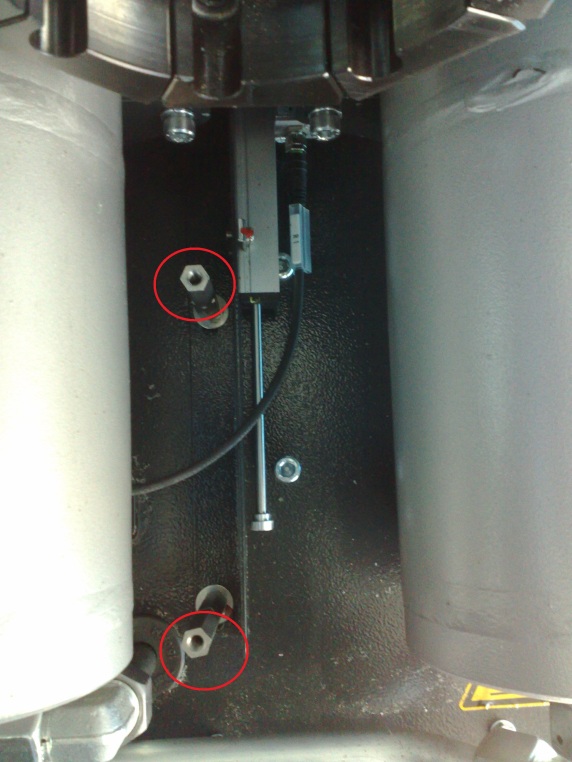
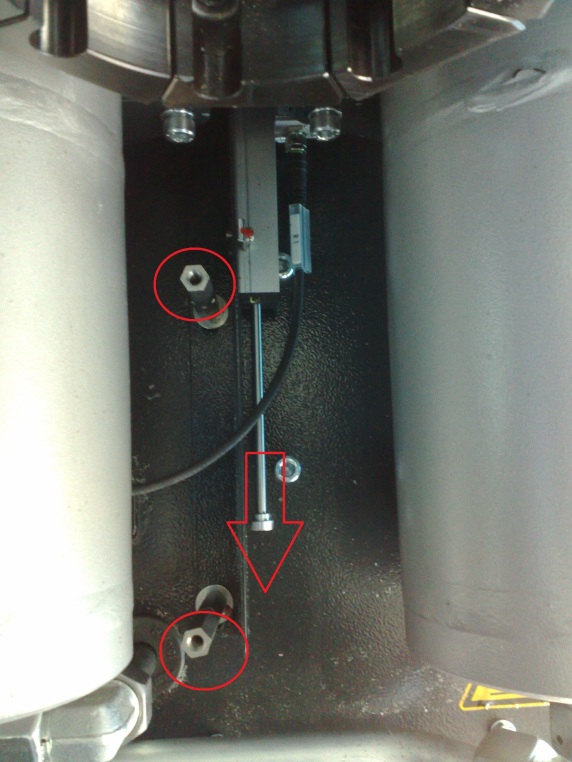
| Remove the two spacer bolts |
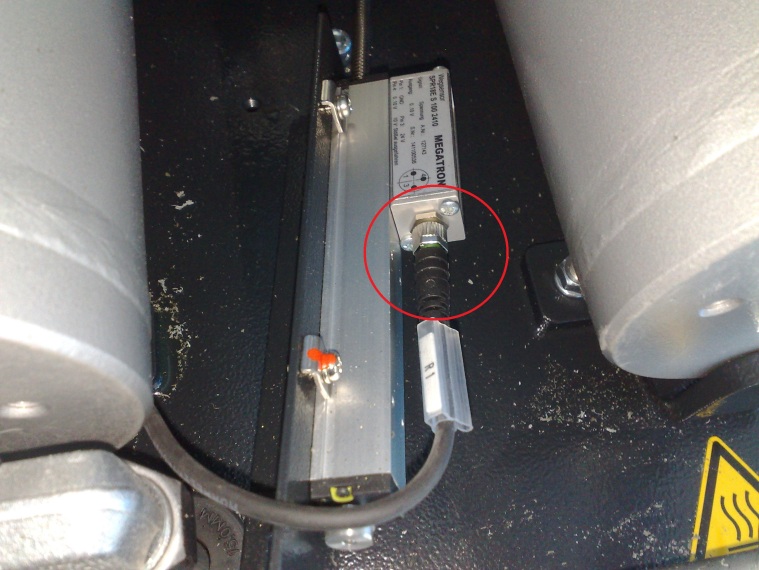
| Retract the retaining plate with the sensor and unscrew the plug to remove the wire. |
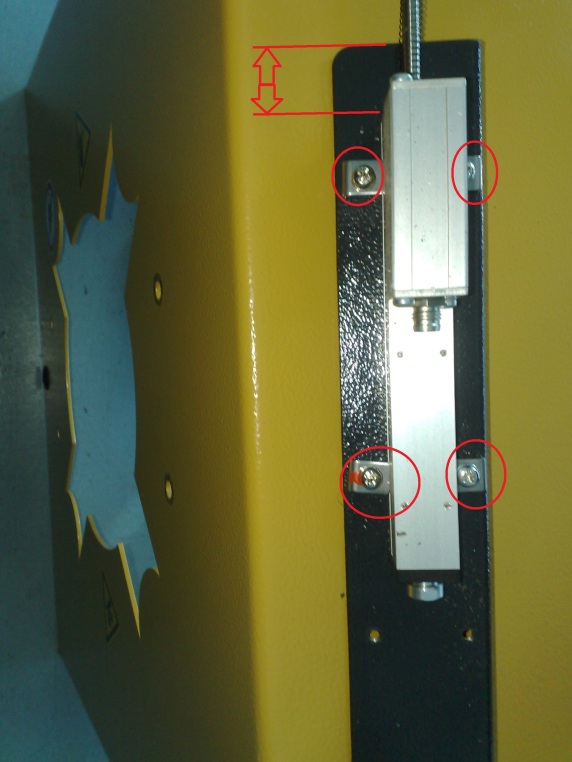
| Mark the actual distance of the sensor (see arrows). Loosen the 4 Philips screw’s and take the sensor out of the retaining tabs. Insert the new sensor at the same distance and tight the 4 Philips screw’s.
|
| Fasten the plug with the wire. |
| Pull the rod of the sensor back (like the arrow) to move the sensor with the mounting plate back into the machine. Tight the two spacer bolts. |
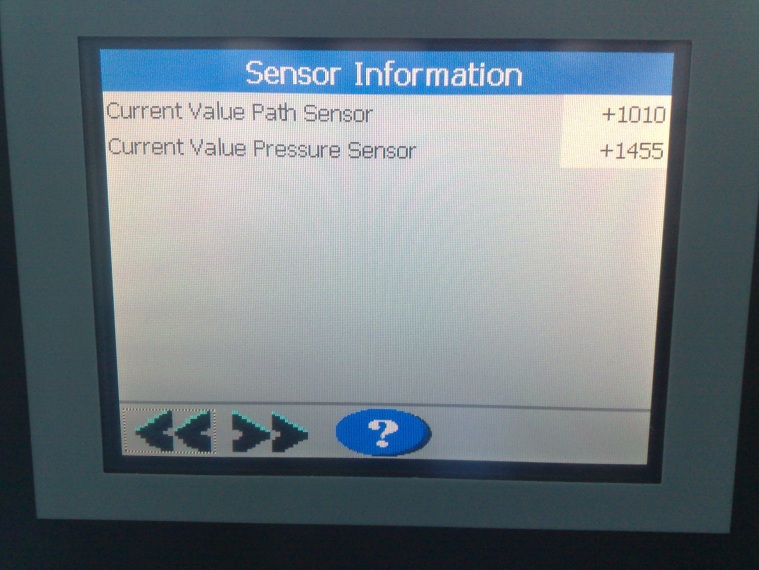
| Turn the machine main power on (not the hydraulics) and go to the picture sensor information. (you will find it under setup) The current value path sensor should be somewhere between 800 and 1200. If it is not like that loose the spacer bolts a little to move the sensor in the right position. Fasten the spacer bolts well if you have the sensor in the right position. |
| Assemble the cover for the sensor with the two screws. |
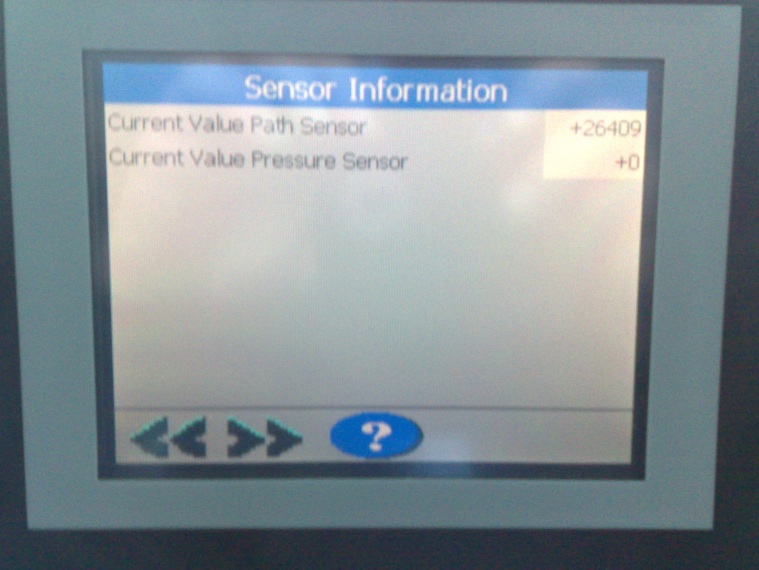
| To make sure everything is all right, open the machine with Y2s manual switch up to the far end. The current value path sensor should not exceed 27600
If everything is all right calibrate the machine.
|


War dieser Artikel hilfreich?
Das ist großartig!
Vielen Dank für das Feedback
Leider konnten wir nicht helfen
Vielen Dank für das Feedback
Feedback gesendet
Wir wissen Ihre Bemühungen zu schätzen und werden versuchen, den Artikel zu korrigieren